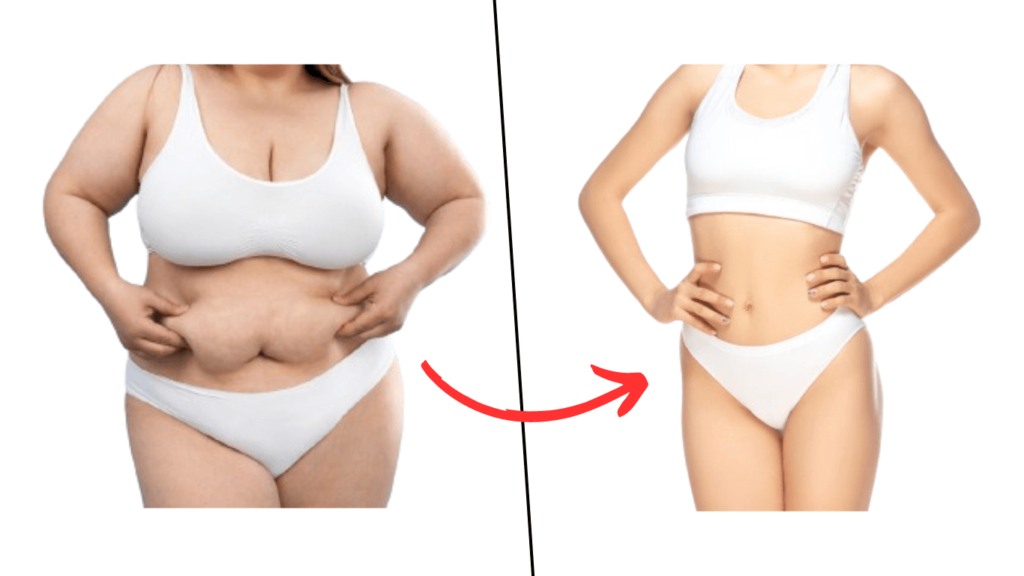
Reduce belly fat after pregnancy with 6 simple exercises
Pregnancy is an important phase in every woman’s life. From pregnancy to childbirth, a woman has to face many things at every stage. During pregnancy, a woman may experience common physical discomforts and emotional challenges. One common post-pregnancy issue is abdominal fat accumulation or weight gain, often referred to as postpartum belly fat. It’s important to avoid starting a restrictive diet or intense gym routines immediately after childbirth due to the body’s recovery needs. Wondering how to shed post-pregnancy weight? Here are effective strategies to help you lose weight after childbirth. Combat this issue by incorporating six simple postpartum exercises tailored to target abdominal fat and promote weight loss. Let’s know more about it!
6 Simple Exercises to Lose Belly Fat After Pregnancy
Mothers who are concerned about their weight and stomach fat after giving birth to their child. Today’s article is for them. In today’s article, you will learn some simple exercises to reduce belly fat. However, we have outlined 3 levels or steps to be mindful of during the postpartum period. You can follow these 3 steps.
Step 1: the beginner level
If you are new to the sport, this exercise is for you. These exercises will help you lose weight by moving your abdominal muscles. You can start this process two weeks after giving birth.
1. Belly Breathing

Lie down on your bed or yoga mat. Bring your knees close to your hips. At this point, stop breathing. Press your belly button with your fingers to feel the movement of your abdomen. Breathe slowly in this position. Breathe in and out again.Hold your breath for 5 seconds while executing this. And then leave again. Repeat this process three to five times. Practice this exercise for 30 seconds daily to see benefits over time. By expanding and contracting the stomach, it will put pressure on your stomach which will help in reducing belly fat.
2. Kegel Exercise

There is another Kegel-level exercise, which will help you lose fat. This exercise helps in reducing abdominal fat. Sit on a bench or chair. Now get up from the bench or chair and stand in a semi-sitting position. Stay in the semi-sitting position for 5-10 seconds. Perform it 15 times for optimal results.
This exercise can be done at a more advanced level. Sit up straight on the bench. Get up from the bench or chair as previously and stand in a semi-sitting position.. At this point, keep your right leg straight and your left leg straight. Then lift your left leg up. Do it 12 times. Change legs after completing 12 reps with each leg.
3. Crunch Beat

This exercise is very effective in reducing the fat of the stomach and leg muscles. Start by lying down on the yoga mat with your back flat on the ground and your legs extended. Raise both legs off the floor simultaneously, keeping them straight and together. Place your hands behind your head with fingers interlaced, supporting your neck. First, extend both legs straight out in front of you. Then, simultaneously reach both hands over your head while keeping your arms straight. Repeat this sequence 8 times for optimal results.
Step 2: The Intermediate Level
He started exercising, and passed the initial level well. Let’s go to the next level. This exercise can be done two to three months after the birth of the child.
4. Plank

Many individuals who exercise are familiar with planks. A plank is an isometric or static exercise. In this exercise, you need to maintain a specific body position. Plank and side plank will help to reduce the fat of your neck and back. Also, stretching can strain your abdominal muscles. This results in a loss of abdominal fat.
Lie face down on the floor or a yoga mat in a plank position. Make sure your back and legs make a straight line. Hold this position for 30-60 seconds. Ensure that your back and hips are straight. After completing the plank, rest your feet on the floor for 30 seconds. Then start again. Repeat this exercise 4-5 times. Following the plank exercise, you can proceed to the side plank. Bend your left knee and place your left hand on the mat. Keep your right leg straight and your left leg straight. Slowly lift your body off the floor.Hold this posture for 30 to 60 seconds.. Once this is done, turn from the left side to the right.
Step 3: Advanced level
At this level, you can go to your regular exercise. Start these workouts after at least six months.
5. Wide Stance Deadlifts

Hold a 2 kg weight in each hand to provide a clear weight recommendation. Bend your knees slightly and put your feet on the floor. Stand firmly on the ground in this position. Now raise and lower the two dumbbells. Perform 8-10 repetitions for clarity and guidance. Avoid exerting too much pressure on your stomach.
6. Walking in front of (Walking Lunges)
First of all, keep your legs together. Place both your hands on your hips. Take a step forward. Keep your knees bent at 90 degrees in front and behind you. At this point, bend your knees and lean forward, keeping your back straight. Switch to the right foot. Perform 15 repetitions for a specific number.
Ensure you warm up properly before starting any exercise routine. If you find it difficult to exercise, avoid it. Avoid exercises like sit-ups or crunches that put direct pressure on your stomach.Pay attention to your body’s signals and change the workouts accordingly. Remember to hydrate, maintain proper form, and consult a fitness professional for personalized guidance on safety and health during exercises.

